
How to Post Your Story

This one is pretty simple, just add a title for your story. Keep it short and concise.

Tell us where your action takes place, or where you received your globe so we can add it to the map. You can give us your street and city, or if it takes place in an interesting landmark, send us that. We will never post your home address on the map.
You can add and style text, links and images in the Content box. Here’s a few tips and tricks.
Type in the box as you normally would, or you can cut and paste from your Word or Pages document.
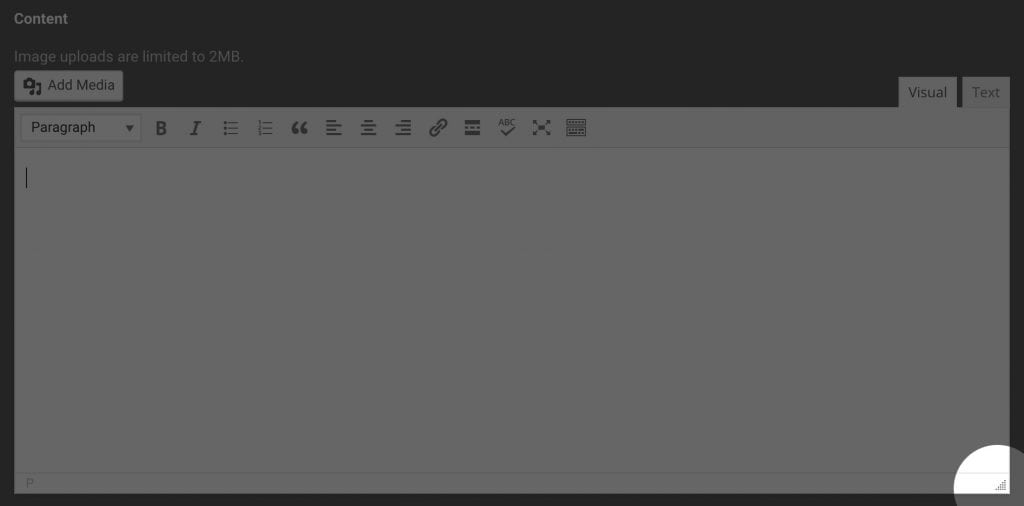
Drag the bottom right corner to resize the box for more space.
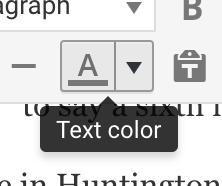
Hover over any tool in the tool bar to find out what it does.
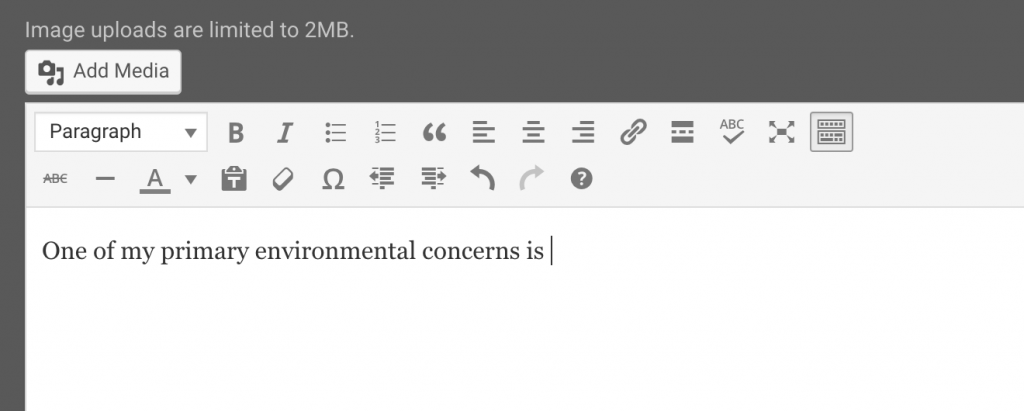
Use the Toolbar Toggle to open a second row with more options.


Highlight the text you want to add an effect to (bold, italic, add a link) and then select the tool.
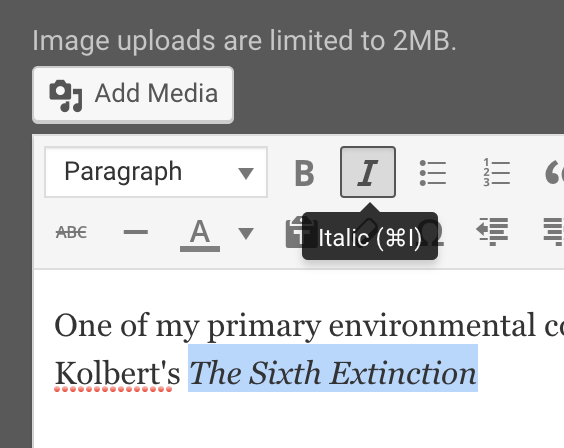
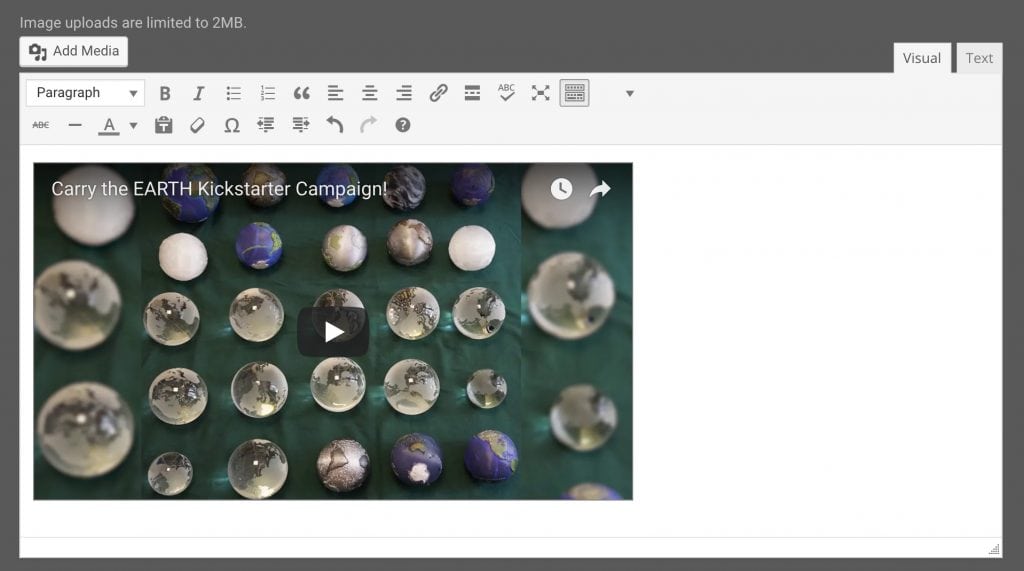
The Visual tab is how your blog looks on the page. If you know HTML, you can fine tune how your draft looks in the Text tab.

It’s easy to add images to your blog.
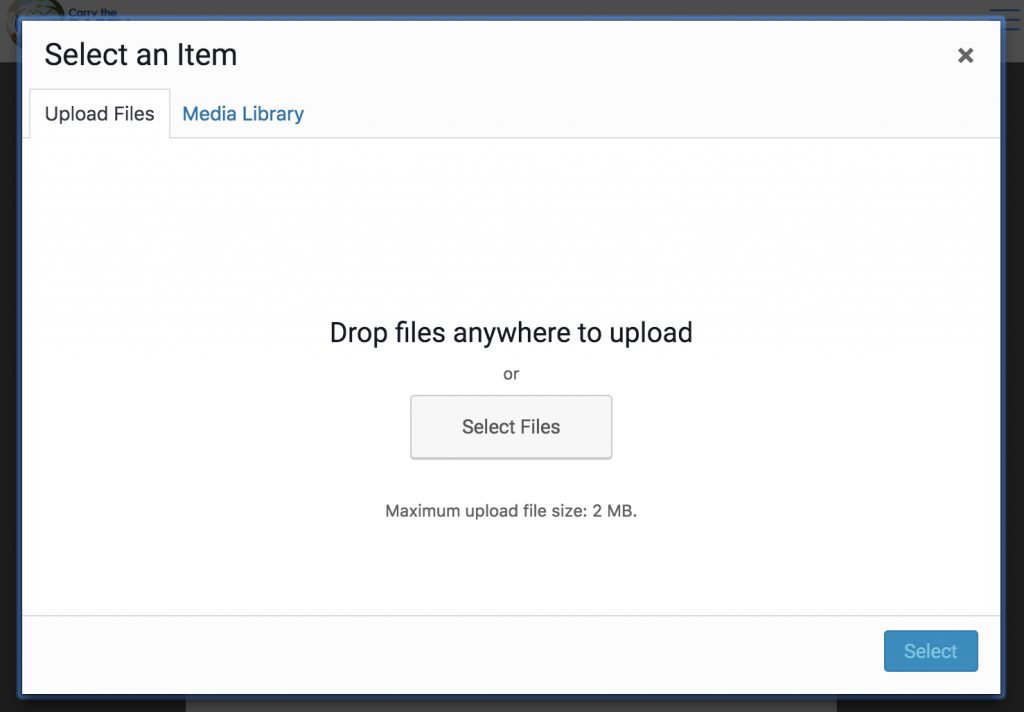
Click the ‘Add Media’ button.

Upload as many photos as you like. Make sure they are under 2MB each. Generally images around 1000 pixels wide are okay. Only you will have access to your images.
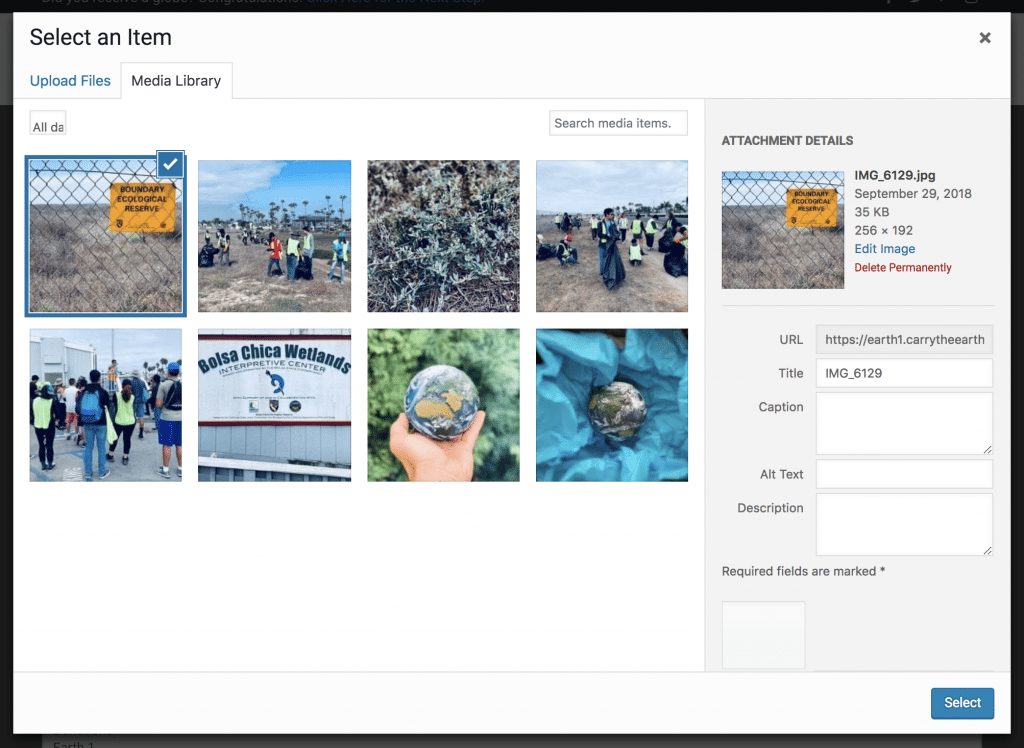
Once the images are uploaded, you can select them in your Media Library. You can see the image details on the right hand side.
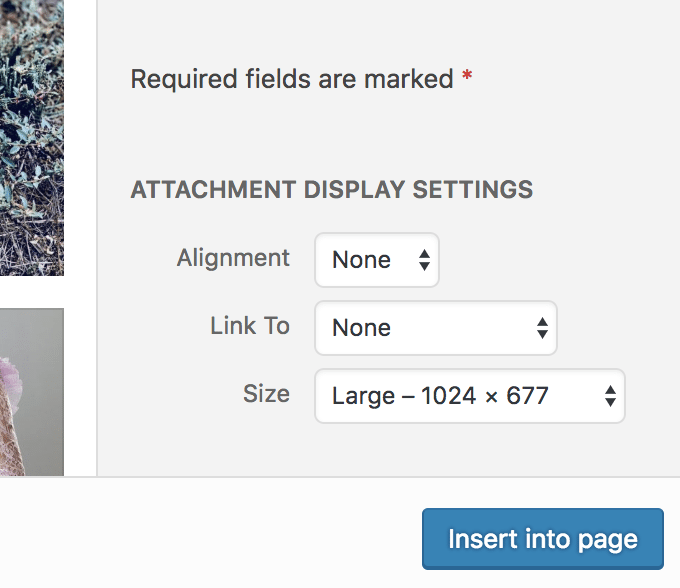
In the bottom right corner of the Media Library page, choose the size and alignment of your image and select Insert Into Post.
If you want to edit your image after you insert it (Is it too big? Do you want to change the alignment?), click on the image in the Content window to bring up the editor and select the pencil icon.
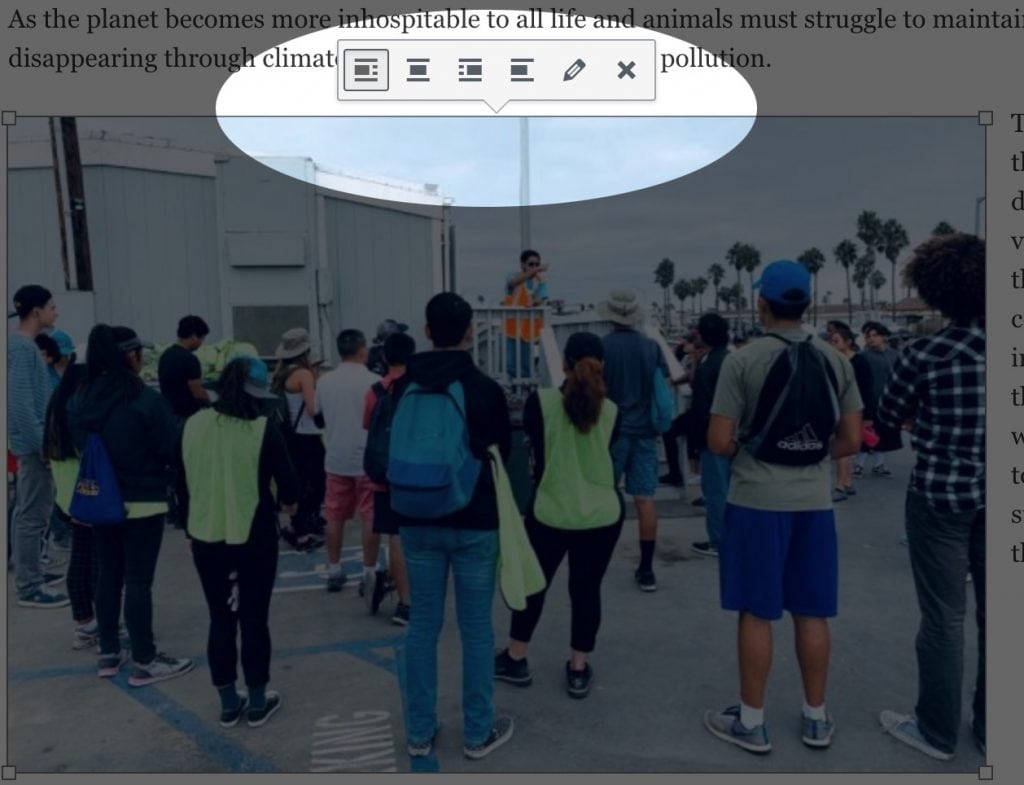
From there you can change any aspect of your image.
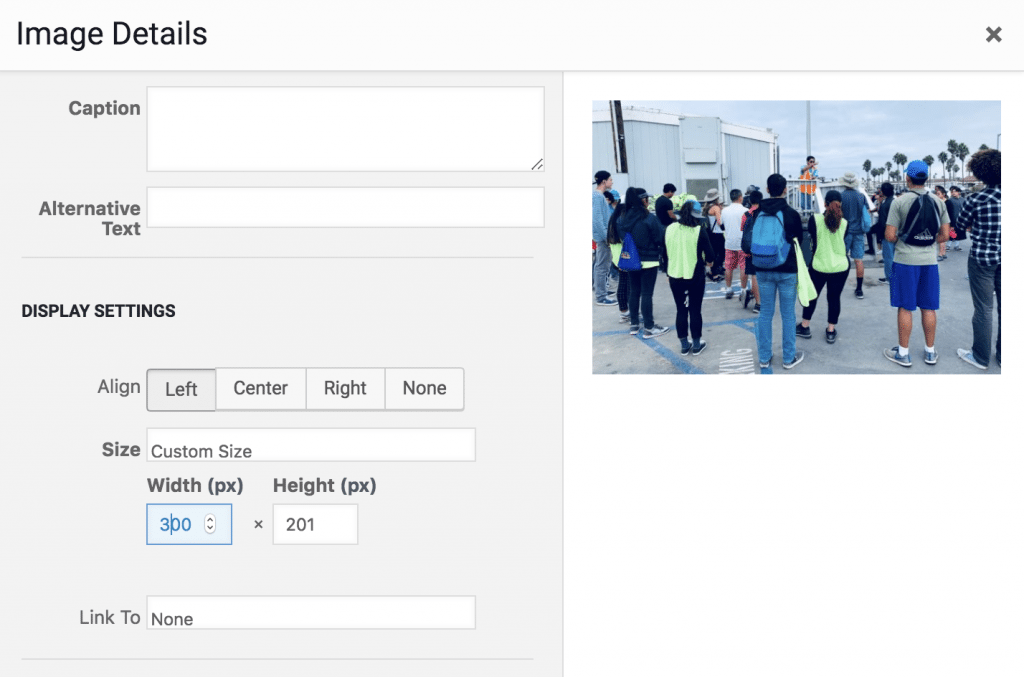
You can add multiple images to your post as an image gallery.
Click ‘Add Media’

You can upload images or select images you have already uploaded from your Media Library.
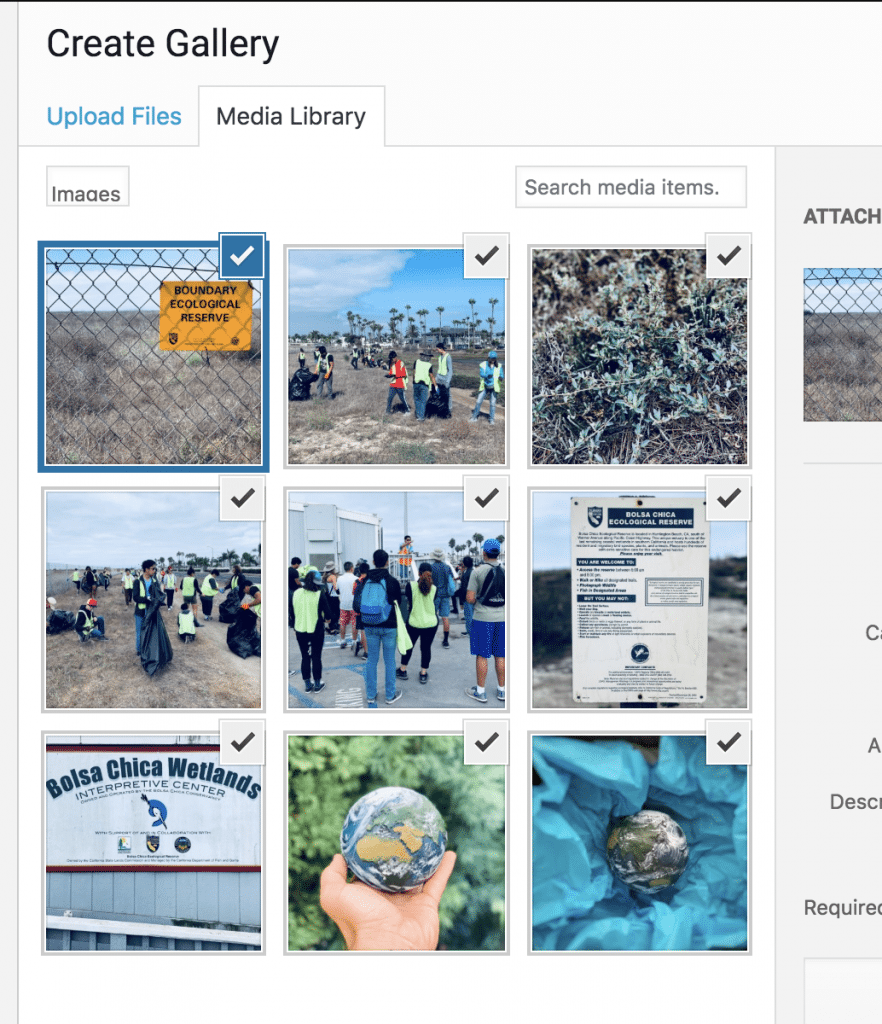
Select as many images as you want and click Create a New Gallery. You will be taken to the Edit Gallery page. You can choose the order of images, how many to display per row and the size of the images.
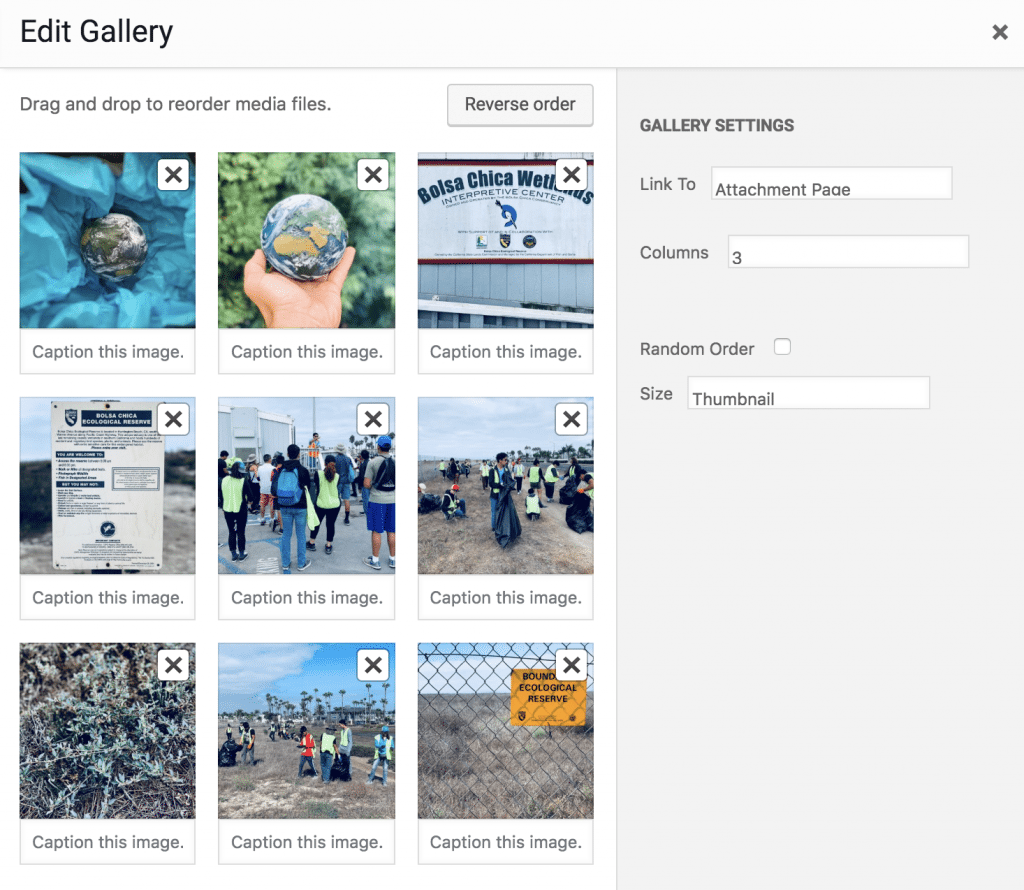
Click Insert Gallery to add the images.
You cannot upload videos directly to our website, but you can embed YouTube or Vimeo videos directly into your blog post. Create a video and upload it to your channel, then add it to your story.
To add a YouTube video:
Select “Share” from the video you want to include.
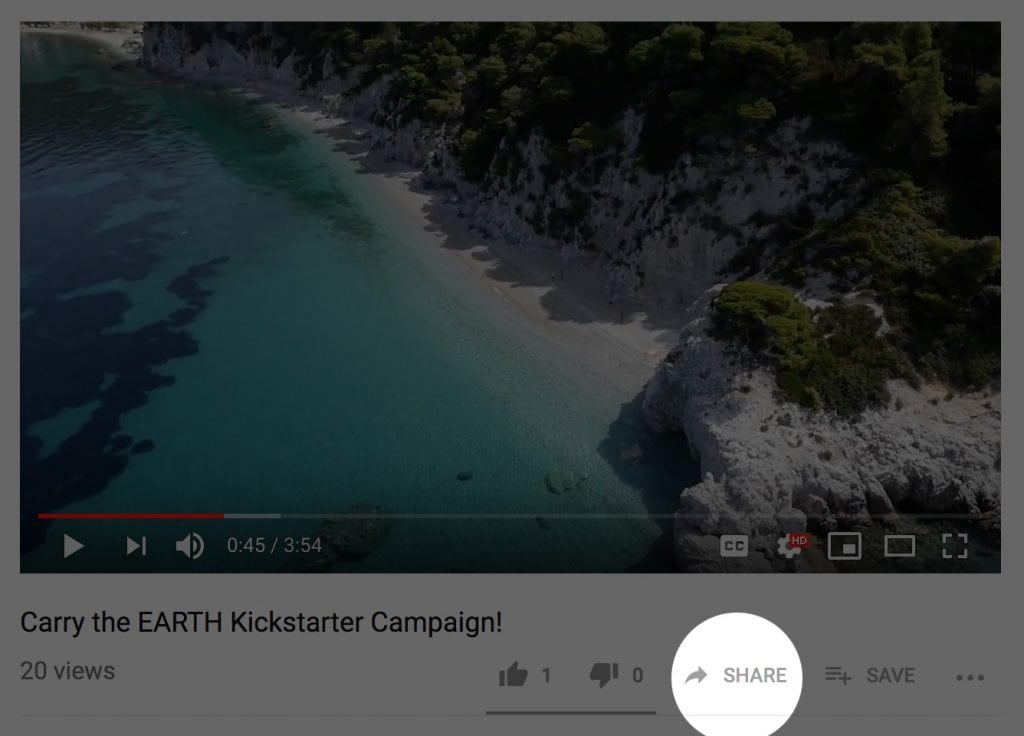
Choose “Embed” from the share options.
Copy the code in the box that includes everything between the <iframe> tags.
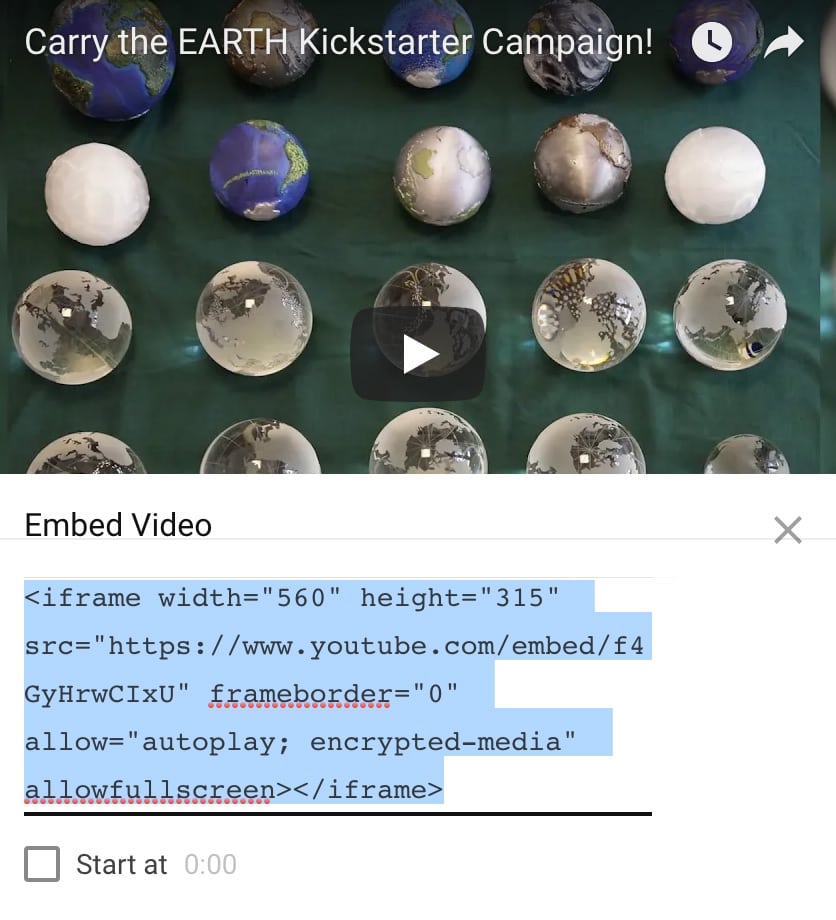
Paste the code in your story into the TEXT editor of the Content box. (Pasting it in the Visual editor will not render it correctly).
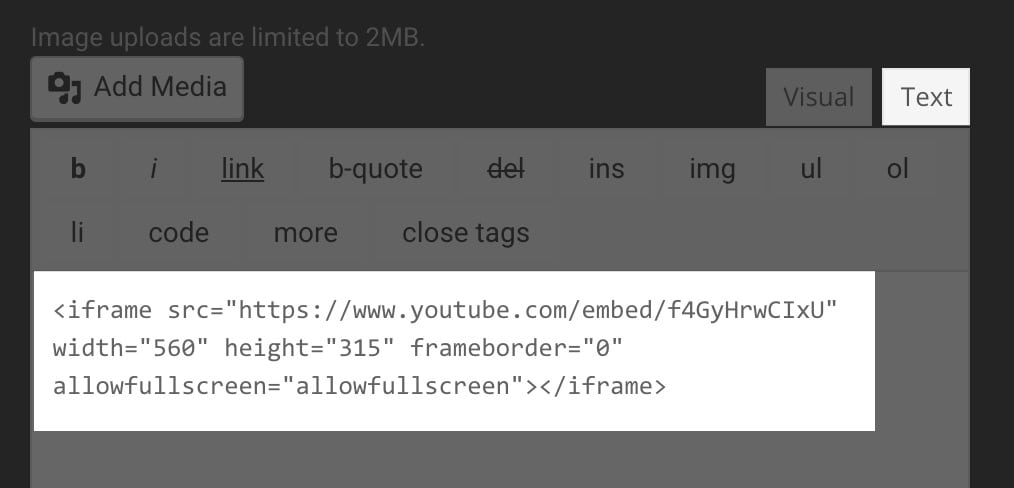
Click back to the Visual editor to see your video included in your post.
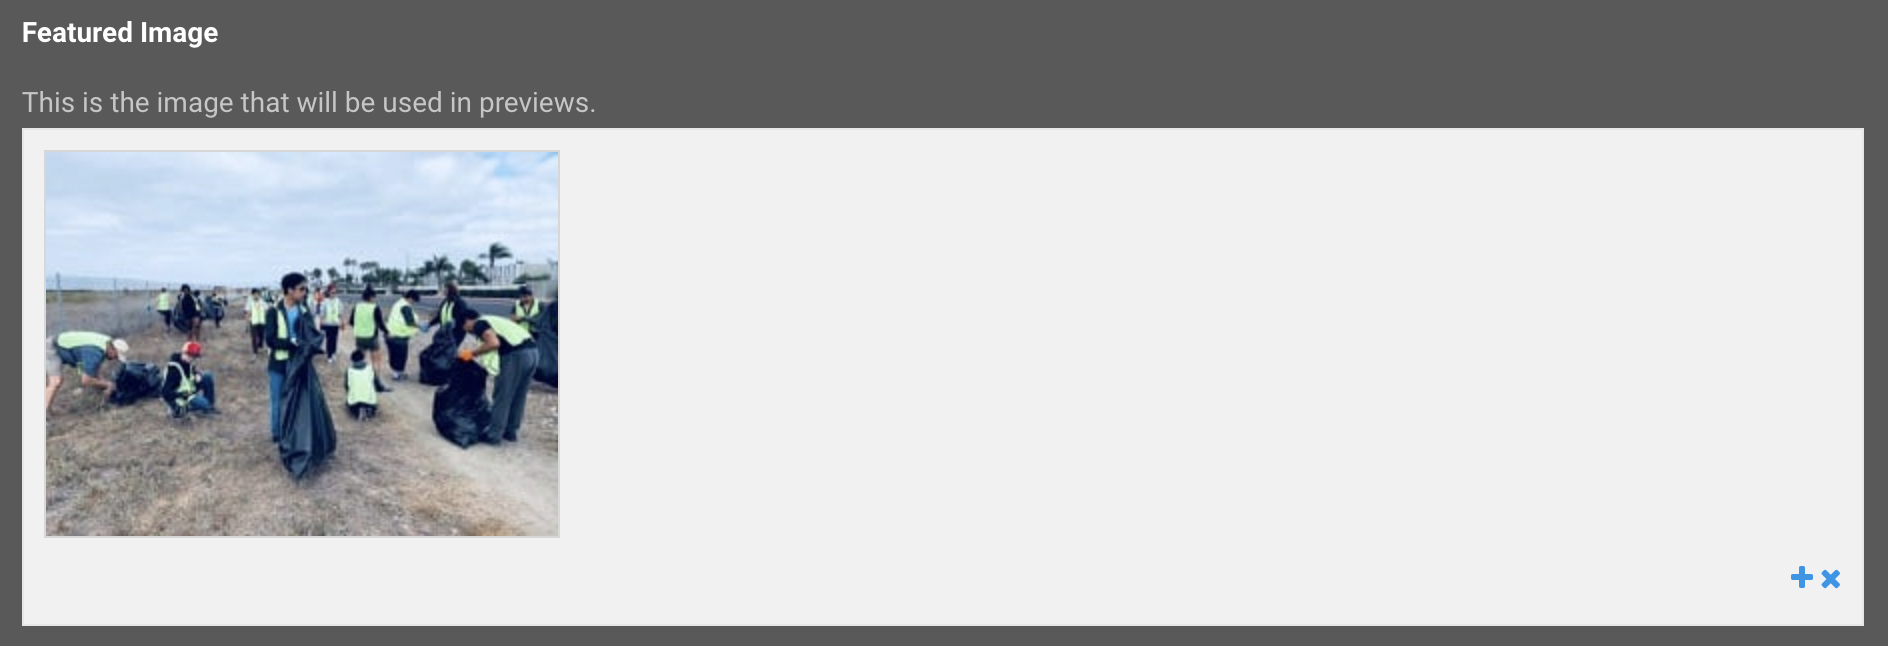
Use the + sign to choose an image for your main story image. You will be taken to a screen that will allow you to upload an image or choose from one you have already uploaded from your Media Library. It is best to use landscape (wide) images as opposed to portrait (tall) images. Your image will look best if it is between 1000 and 2000 pixels wide.

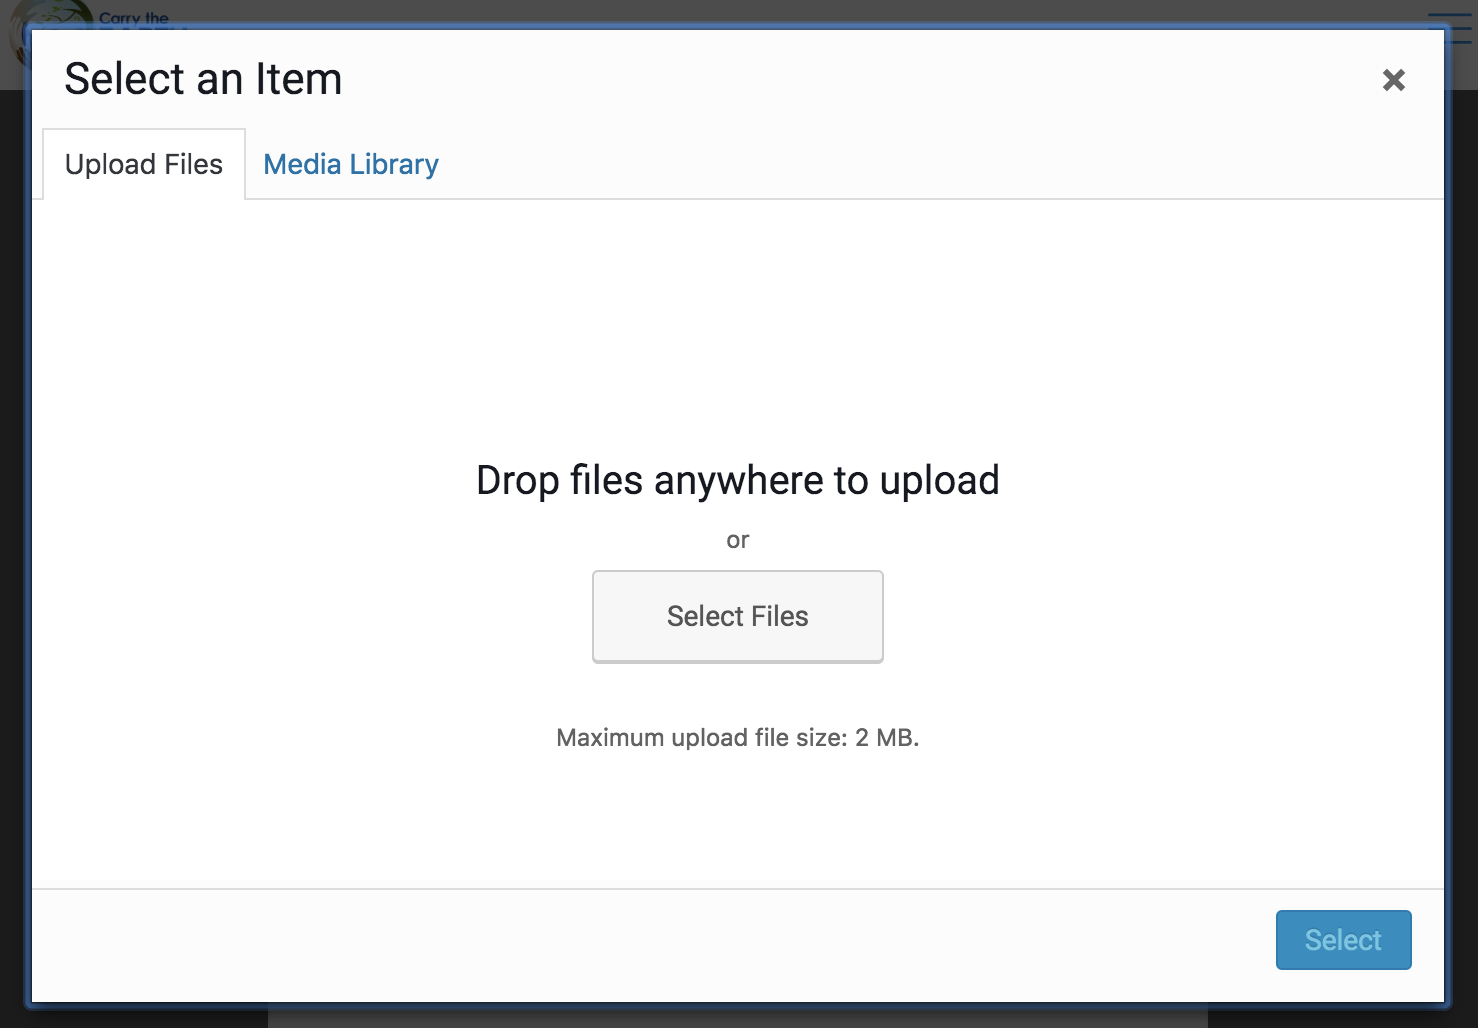
Use the x to delete the selected image.

Choose one or more categories that your story falls into. Hold the command button (Mac) or alt key (PC) on your computer to select more than one at a time.
You can add keywords to your story. If other carriers use the same keywords, your stories will be connected. Think of keywords like hashtags on social media.


To submit your story for our moderators to approve and publish, click Submit.
To save a draft and work on your story later, click Save Draft. You can view or edit your drafts below the story form.
You can edit your draft until you submit the story to our moderators.

To view how your draft looks on the website, click the eye icon.
To edit your draft, click on the pencil icon. Your draft will open up immediately in the same space.
To delete your draft, click on the trash can icon.
Relax about the writing! Just tell your own tale in your own voice, as a personal expression of your environmental action, whether large or small.
